A lot of sites add a members section, where users are authenticated by means of a username and password. Once the user is logged in successfully, he or she can then gain access to the restricted areas of the site. You are probably here because you are seeking for a simple user authentication using Node.js, well you came to the right place.
What I am offering on this tutorial is a complete script for Login, Registration and Account page. The project is available on github – Download on Github. I kept everything well documented on my codes, but feel free to contact me or leave a comment bellow if you have any questions or if you found a bug.
Modules used:
For the base of our application, we are going to use the framework: Express. Express is a minimal and flexible Node.js web application framework that provides a robust set of features to develop web and mobile applications. It facilitates the rapid development of Node based Web applications. For the user authentication, we are going to use Passport.js local strategy. Passport is an authentication middleware for Node.js. it is extremely flexible and modular, Passport can be unobtrusively dropped in to any Express-based web application. For our database we are going to use MongoDB. MongoDB is an open-source document database, and leading NoSQL database. MongoDB obviates the need for an Object Relational Mapping (ORM) to facilitate development. And lastly, for the password hashing algorithm we are going to utilize Crypto MD5.
Other modules that I used on this project:
- async
- connect-flash
- jade
- monk
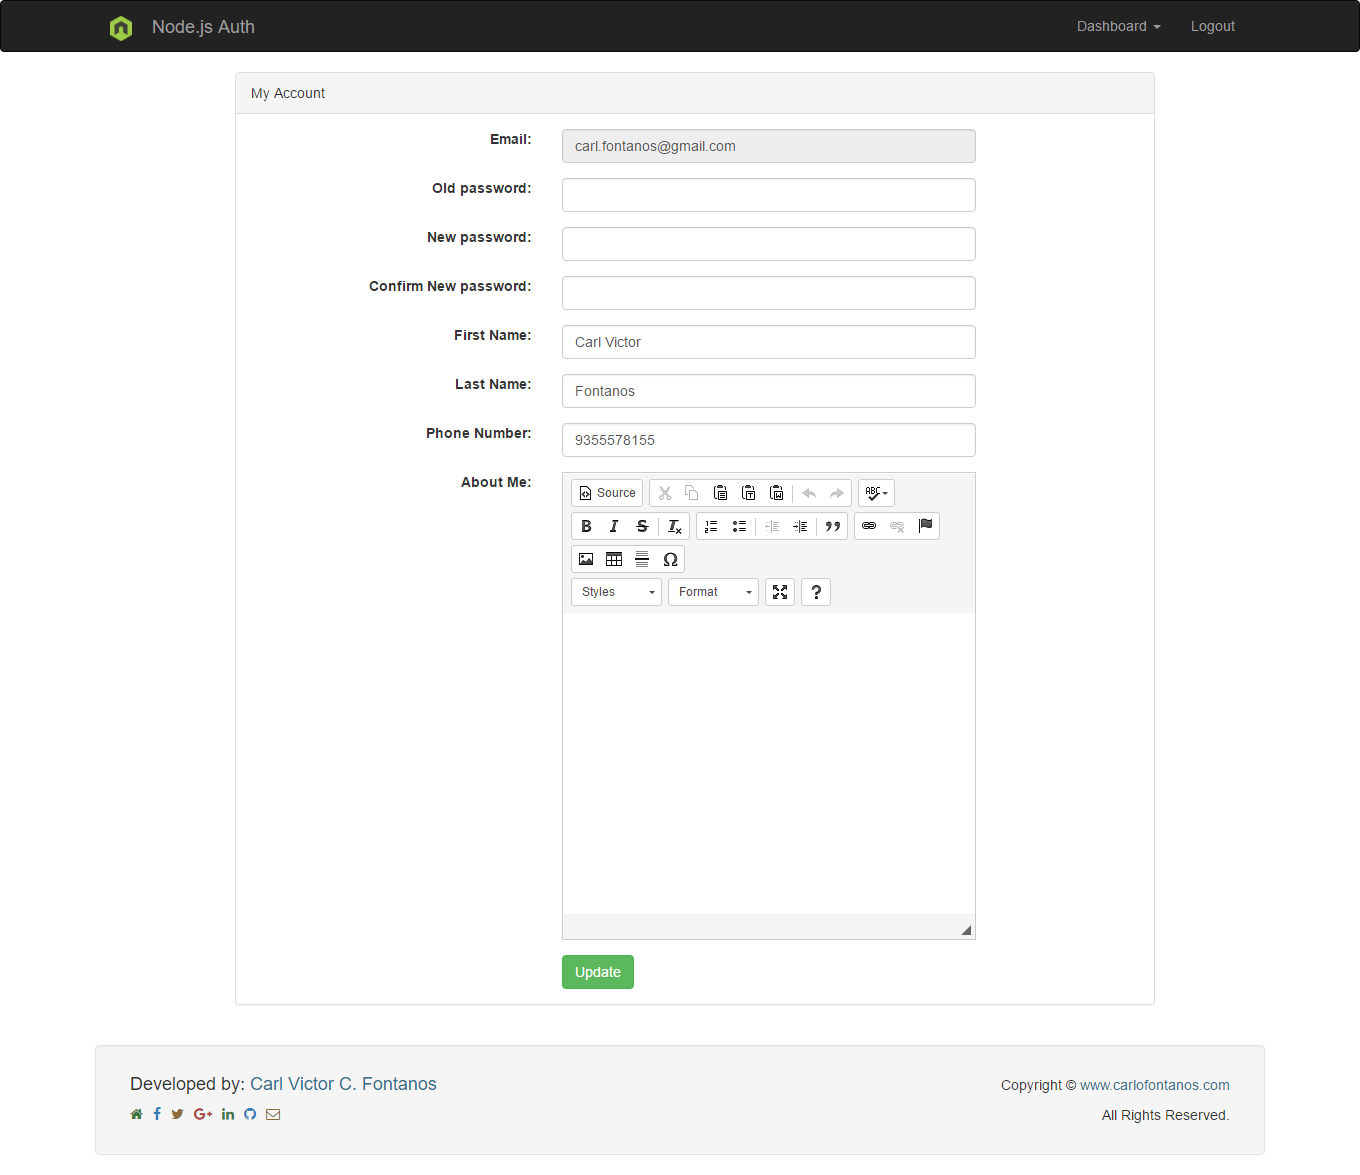
Screenshots:
Registration Page
Login Page:

Account Page:

How do I get setup?
- Create a folder called “data” in the root directory of our nodejs project. This is where MongoDB documents will be stored.
- Go to MongoDB installation directory and under the bin folder run this command: mongod –dbpath C:\Users\Carl\Documents\nodejs-auth\data This will start the MongoDB server. Leave this CLI instance open and start another CLI instance.
- In the new CLI, navigate to where you pulled this repository, ex. C:\Users\Carl\Documents\nodejs-auth, then type-in: npm install then wait till it finishes installing all the modules required to run our Node.js Web Application.
- Once the installation is completed, type in the following command to run our Web Application: npm start Make sure to keep the CLI opened.
- Now go to http://127.0.0.1:3000/ using your favorite browser.
